.: LED Lit Cup holder
Well this one is a bit different and not a factory retrofit. But I liked the look of them being lit so I figured why not. This can be done a few different ways with different colours and if your creative you can even get multicoloured LED's and put in a switch to control them.
For the purpose of this install I am going to make it as factory as possible. I am sure there are other solutions so don't be afraid to play.
Now this is a mild modification install so I would rate it 5 out of 10 for difficulty because of the skills for soldering and the removal of the centre console.
Different variations will change what you are going to use but I'll show my method. Had I been in the US I would have ordered LED's pre made with resistors and save a lot of work. But since they wanted 130% of the value of the LED's for shipping I opted to put them together myself.
I am designing this to plug in between the centre console 12v accessory plug so it's plug and play and there is a light control wire there so you will get these dimming with the rest of the car.
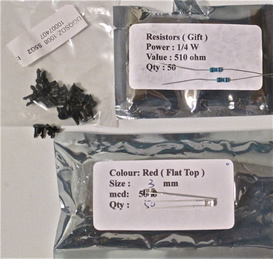
LED Parts:
3 x 3mm flat top red LED's. (You can install more but I found 3 worked well)
3 x 1/4 watt resistors (you should buy LED's that come with them it makes life easier)
3 x 3mm LED holders
Sources:
Pre Wired 3mm LED's (saves soldering the resistors in after the fact like I am doing)
3mm LED Holders (This is an ebay link which may not last forever, so search for 3mm LED holder to find an alternative if this stops working)
Wire Harness Parts: (This is optional. You could just splice into the 2 wires that are there but then it's not plug and play) Your wires will not be coloured like mine sine I just pulled the wires from my spare car harness to build this but the procedure doesn't change.
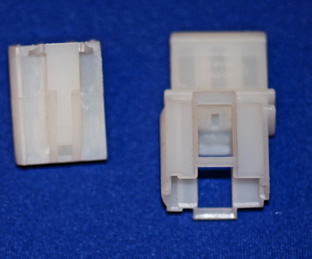
1 x 1J0 919 321 (female plug)
1 x 000 979 227 (large female wire for power and ground going to 12v plug)
1 x 000 979 135 E (small female wire for lighting control)
1 x 357 919 321 (Male Plug)
1 x 000 979 220 (large male wire for power and ground going to 12v plug)
1 x 000 979 130 (small male wire for lighting control)
Misc:
Solder
Shrink Wrap
4' small gauge wire (preferable 2 separate pieces 2' long in different colours)
Cloth Wrapping Tape
Glue or Epoxy (optional)
Tools:
T20 Torx Screwdriver
Wire Cutters
Soldering Iron
Drill
13/64 Drill Bit (Depending on LED Holder)
Heat Gun (or similar device for shrinking heat shrink)
Since this requires a full removal of the centre console the complete write up is not going to be done here. I'll try and do a write up on the removal of the consol sometime in the near future. The removal of the centre console will be it's own write up since there are a lot of modifications that rely on that one item.
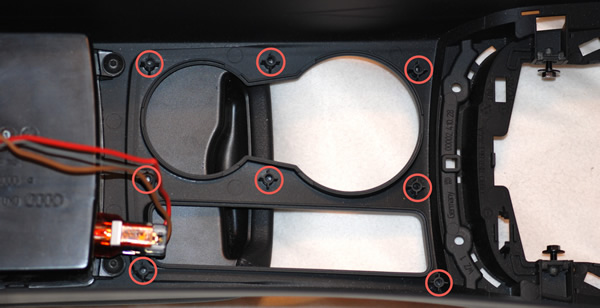
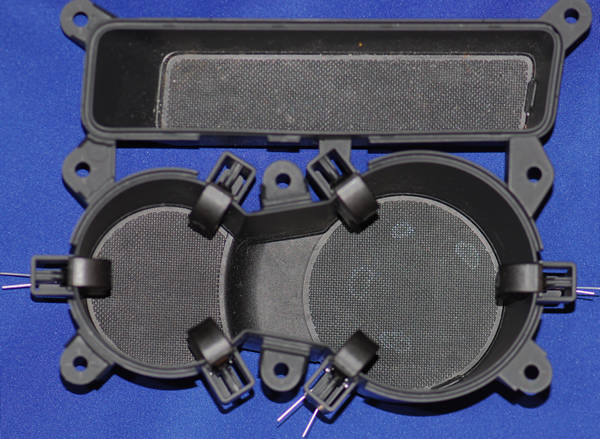
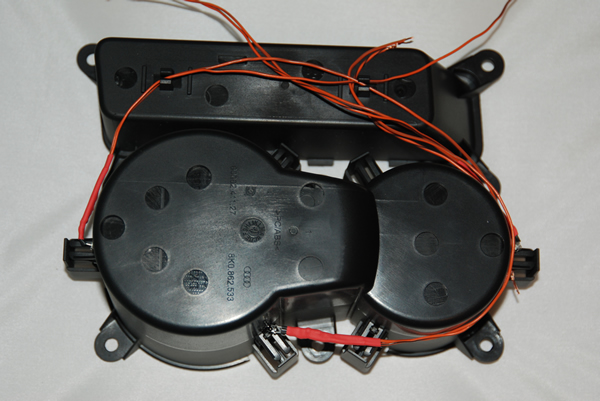
Once you have the centre console out remove the 8 T20 screws that hold that hold the cup holder in place:
Before drilling into your cup holder grab some sort of scrap material to test with. Drill a hole and test fit your clip and LED to make sure you have the proper sized hole. It's easy to test on a piece of scrap but hard to fix a missed sized hole in your cup holder.
Decide how many LED's you plan to install. It doesn't hurt to test one before drilling them all. Once your ready remove the cup holder pressure clips to give a bit of extra room. Push the clip all the way in and slide it out of the holder.
Clip In:


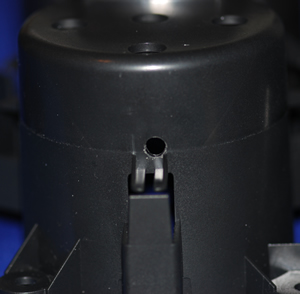
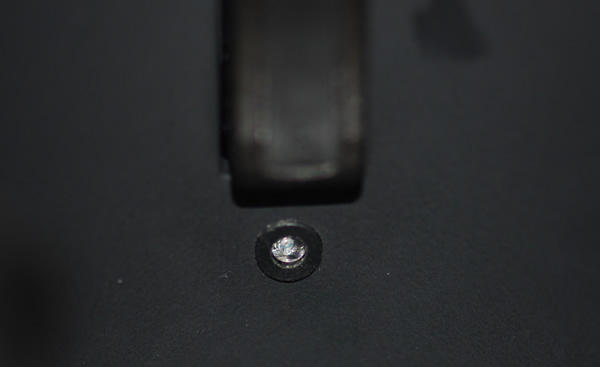
When you go to drill the hole remember to leave enough room for the clip to move freely. As you can see by hole below it was a bit off centre to the clip but is still hidden from the inside which is all that matters.
Once the holes are drilled push your clips into place. Take your time if they are tight. You don't want to bend the tabs. If they are a little loose don't worry, when the LED's are in place they will tighten. If your concerned use a little epoxy or glue to make them permanent.
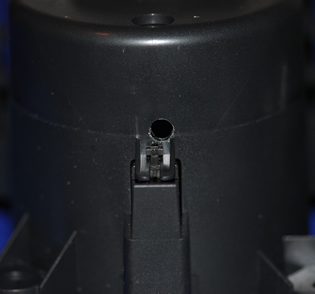
You can see a picture here of the 3 LED's I tested fitted and as you can see from the top they are hidden from normal view. Of course if you try hard enough or get the right angle you'll see them.
Here's a picture of an LED from the inside of the cup holder. You'll see that the holders are fairly flush and shouldn't interfere with any beverages going in and out of the holder.
Now if you bought your LED's pre made your much loser to completion than I was at this stage.
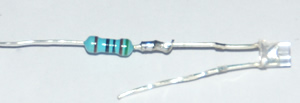
If not your next step will be to assemble your LED's. I started with soldering on the resistors.The resistor goes on the power side of the LED. On the LED's I was using that would be the side that had the longer lead and the non flat side of the LED.
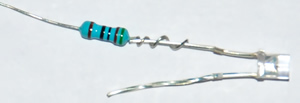
Next step was to solder on the wire then cover it with shrink tubing.
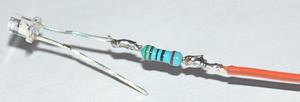
Repeat the procedure on the ground side but of course with out the resistor. When I was done I put one more piece of shrink tubing around the entire assembly for a little extra support.
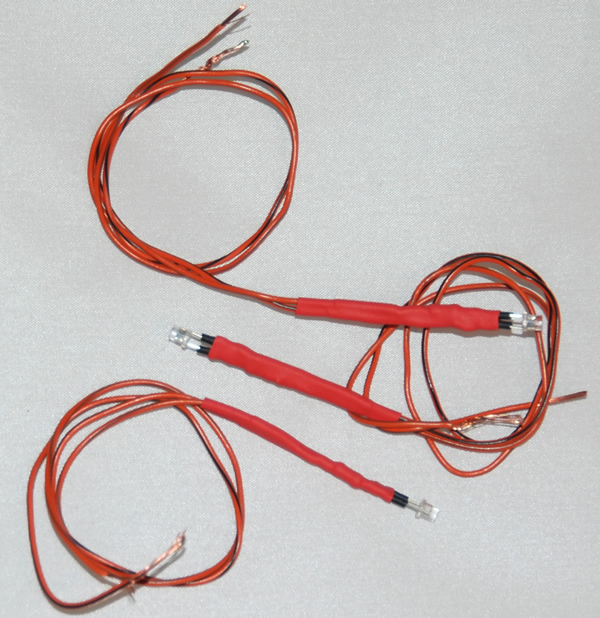
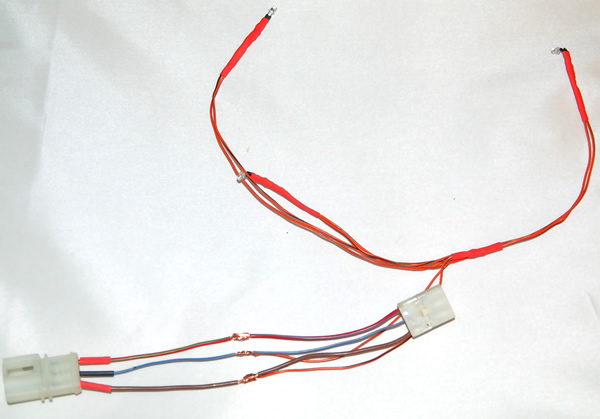
The next step is to start creating your final harness. I mock placed the wires together then marked a joining point and connected all the wires together.
Once I created the LED harness you have 2 choices, you can either just splice the two wires into the cars harness or you can make a sub harness to tap in between the 12v socket and the car. I went the way of making a harness to tap in between.
Assemble your two plugs together and for the time being just twist the wires together. Your centre wire if the light controlling wire and one of the outside wires is the ground. You can refer to your car harness to find the proper side of the ground. It's the brown wire.
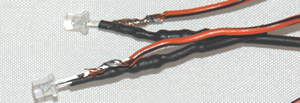
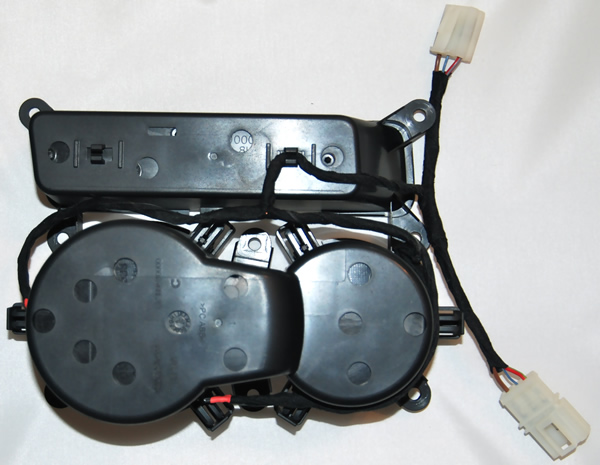
Once the wires are ready, solder them together and use some shrink tubing to protect them. As you can see by the picture the shrink tubing is in place on the left side. Once done tape up the harness plug your LED's into your cup holder and your done.
There's lots of ways to get the same results so do what's comfortable for you but this was one way.
Here are a few pictures of the cup holder. At time of writing my centre console was not installed in the car so these shots are "bench" shots.
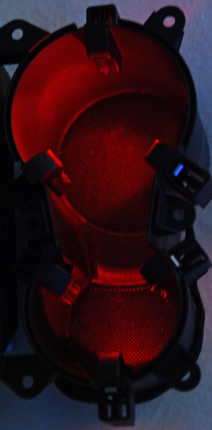
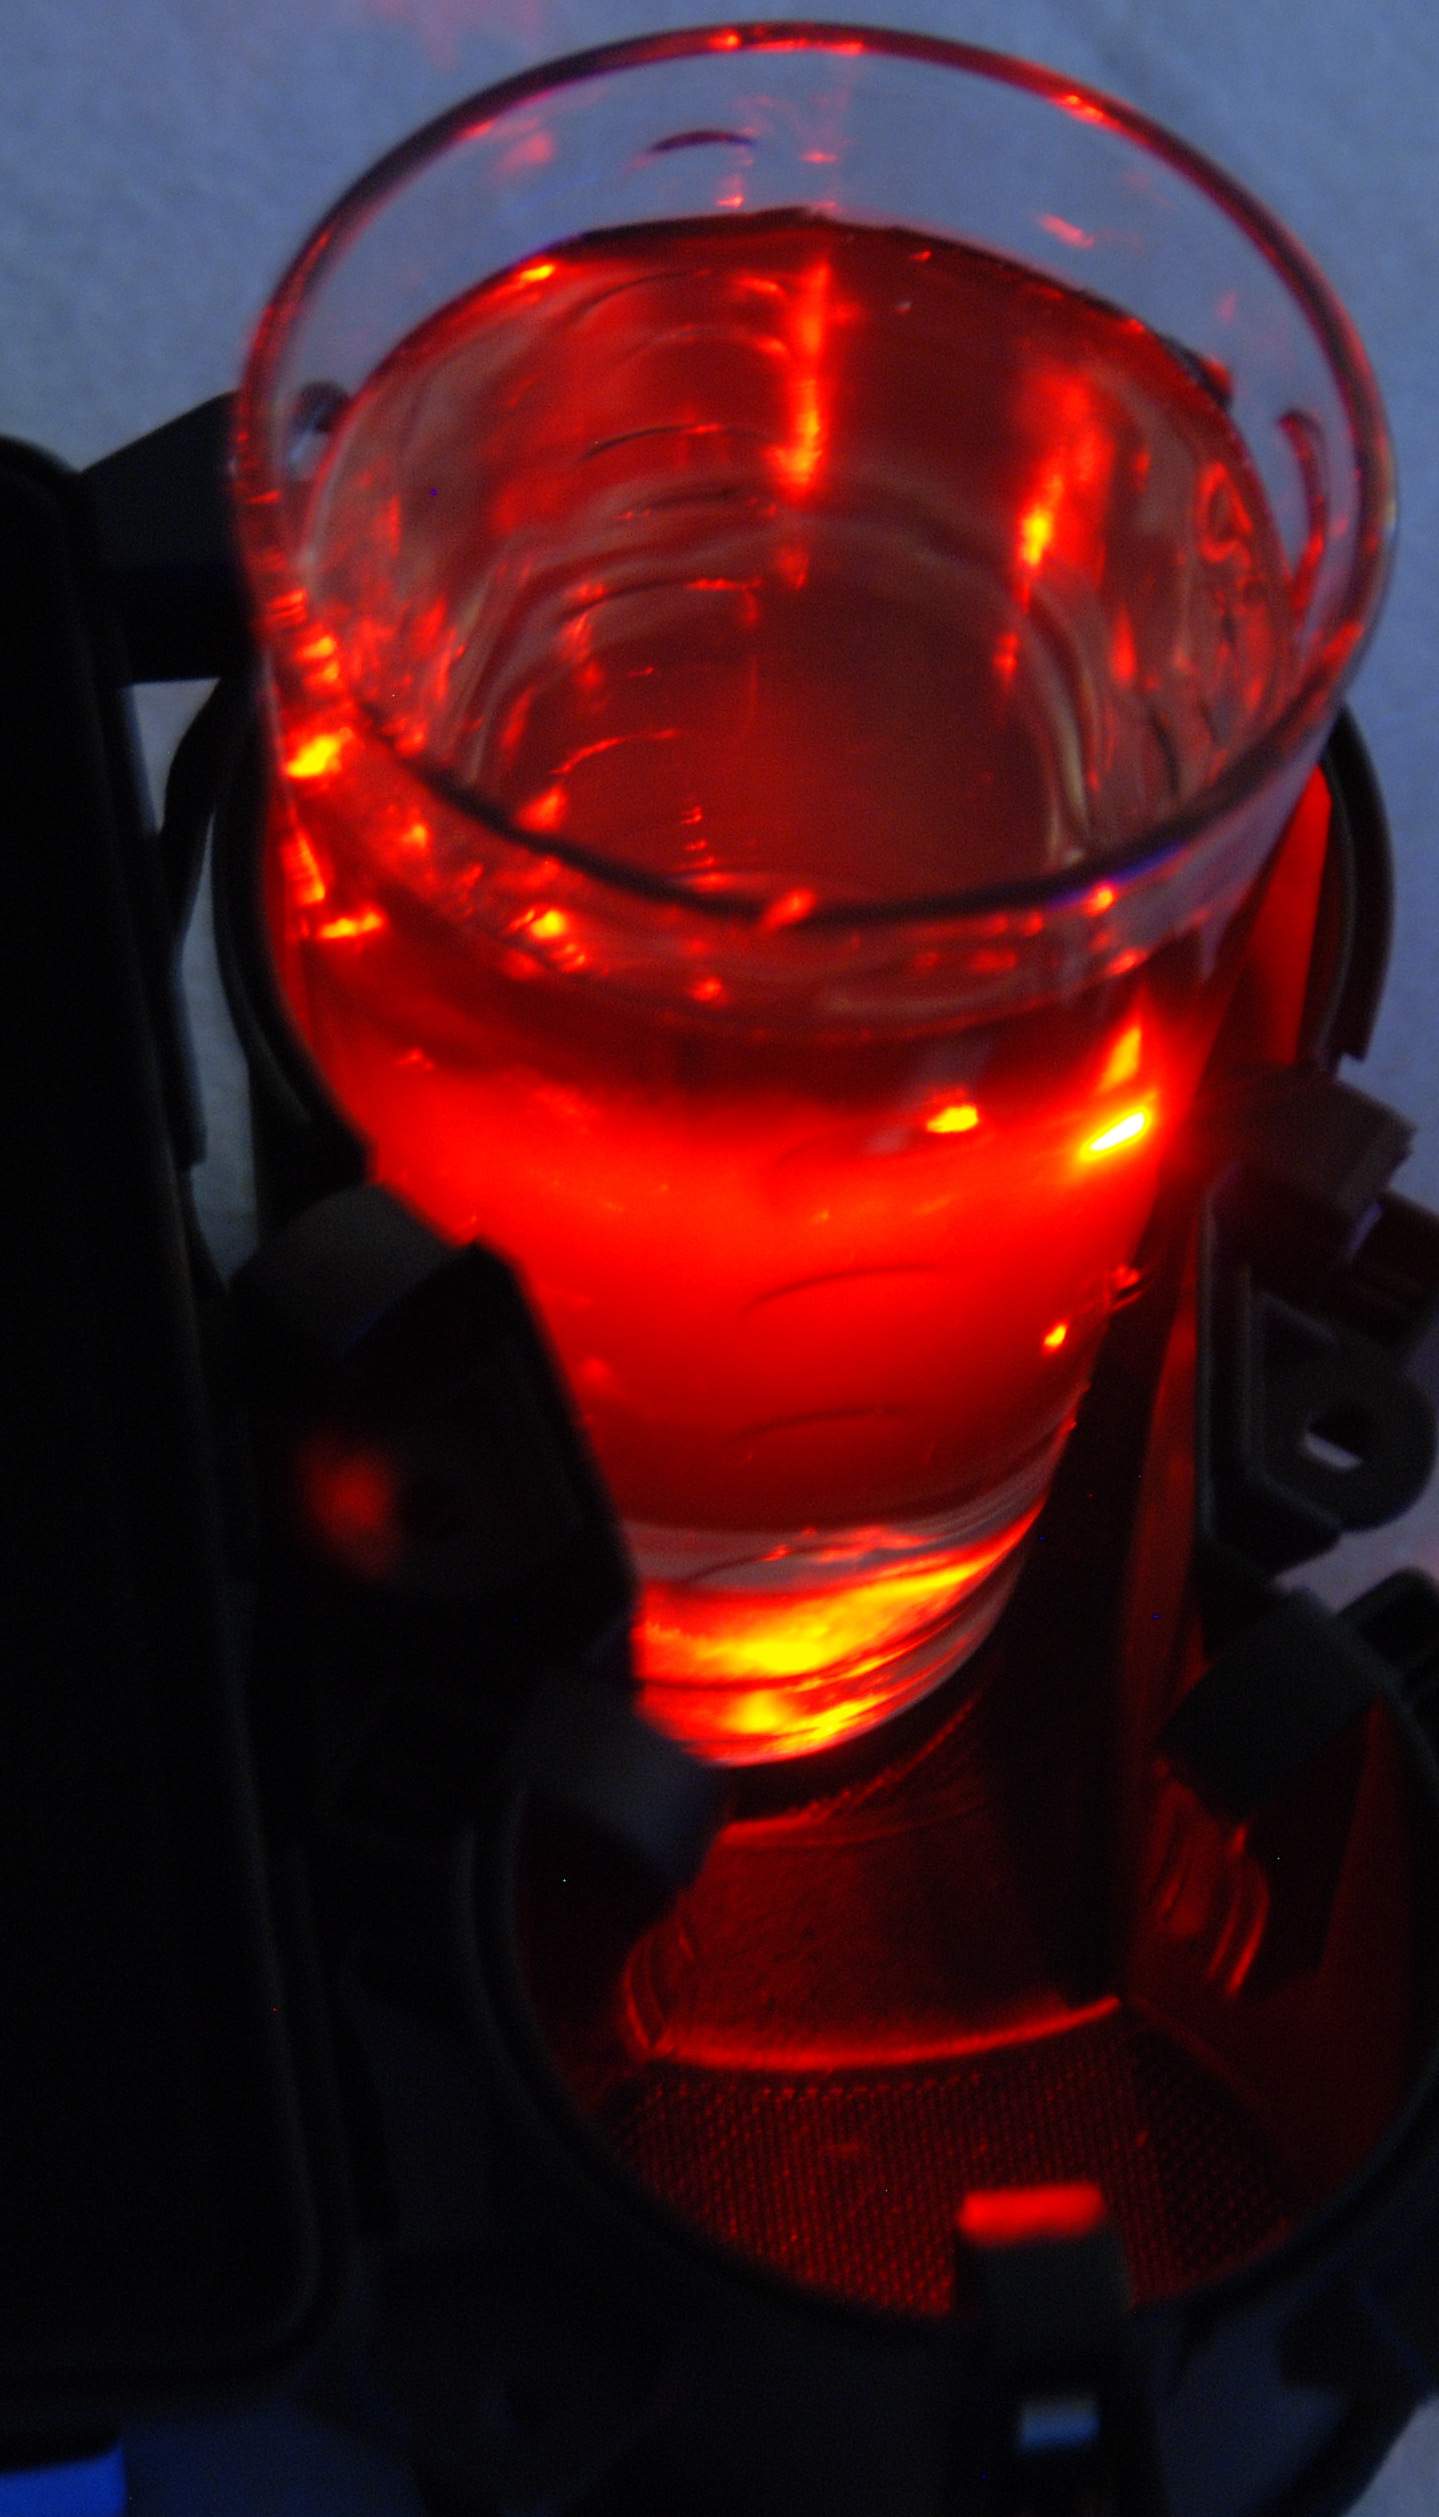
Dark shots are hard to get perfect but I think these give you a good idea. Wired as I have them they will adjust with the interior lighting and the lighting is pretty good overall.
I still have some pictures to update but it's been a bit since my last DIY so I rushed to get this one out. .
Please note: AudiEnthusiast.com is in no way associated to Audi or VW in any way shape or form. All brand names and manufacturers listed here are for informational purposes only and are in no way endorsed by AudiEnthusiasts.com unless stated other wise.
WARNING!! All modifications and changes are done at your own risk. This site in no way approves the modifications performed here for your vehicle. Please check with your dealer before performing any changes as they may void portions of your factory warranty.