.: Upgrading to full Alarm
SURPRISE!! Audi cut the North American market short again. I can't tell you how long I looked for the alarm interior bypass button that I had got used to in MY B5!! What was Audi thinking.
So this project was to upgrade the factory North American alarm to the ROW alarm and include the sensor and over ride buttons. Over all the install isn't to difficult but it takes some careful measuring and a little bit of wiring. So lets move it along.
This is a fairly easy modification so I would rate it 4 out of 10 for difficulty.
Project Alarm Upgrade
Tools:
Wire Cutters
Soldering Iron
Heat Gun
Wire to extend lines between the plugs
Tape
Solder
Shrink Tubing
The Install:
Wiring:
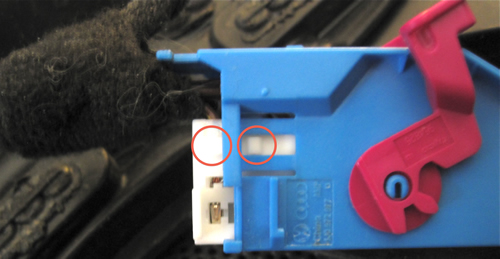
Pin 1 to Pin 10 (LED in Switch)
Pin 2 to Pin 9 (LED in Switch)
Pin 3 to Pin 20 (Switch Contact to Ground) Motion Sensor
Pin 4 to Pin 21 (Switch Contact to Ground) Tilt Sensor
Pin 5 to Brown ground wire
Pin 10 to Blue/Brown wire (Switch Illumination)
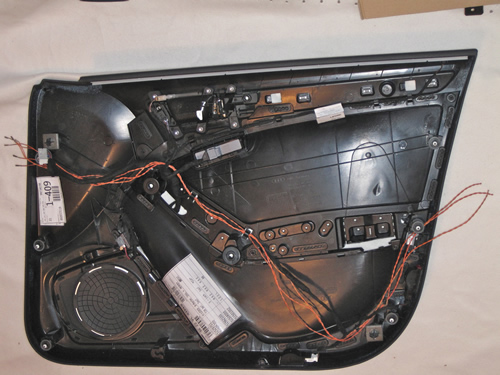
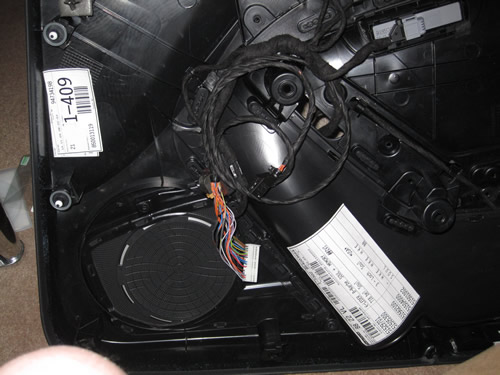
You need to unwrap the tape to get the cover off of the plug. I actually unwrapped up to the tag and kept the tape. It allowed me to keep more of the install looking stock.
The plug is in two parts. In order to insert the wires it needs to be separated. Use a small screw driver or something with a small edge to lift up the latch that holds the plug in place. Use the small tab to pull the plug out.

Note that there are 2 stops you have to go past before you can freely pull the plug out.
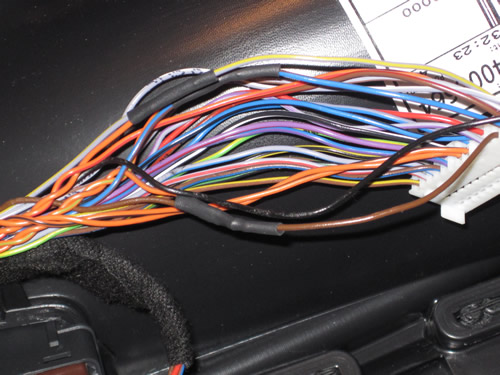
You will need some wire to create the harness. The first step is to measure out how much wire you are going to need. Since you will be joining to ends together leave yourself some extra length so you can trim it to the proper length as your making your connections.
Once you get your wires approximated start making your connections. In the picture below you will see switched things around and used wires that matched the factory colours. Of course this has no effect on it's functioning but since I had a spare harness to work with I try to make as much of it match factory as possible
In order to attach the wires that needed slicing I removed them from the plug so I could solder them in place and use shrink wrap. This keeps the wire intact without any cuts. To release a wire just push down on it's release with something that has a point on it and pull the wire out at the same time.

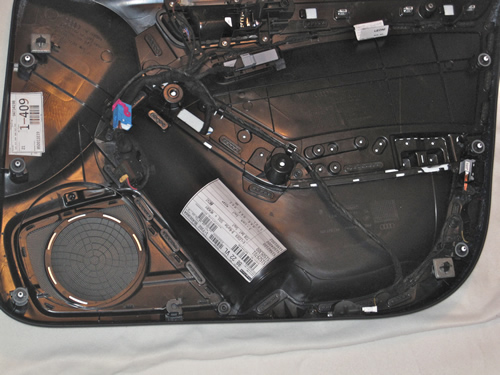
With the wires in place I used a bit of regular tape to hold them in place as I wrapped the harness.
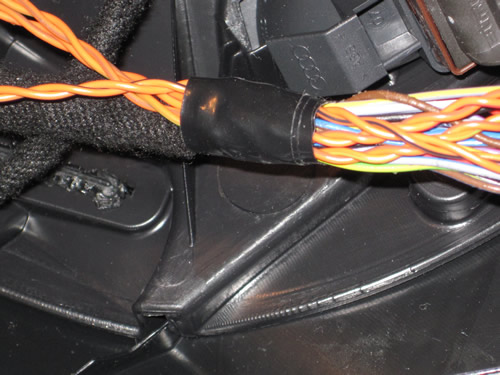
Here we are with it all wrapped up. Nothing left to do now but run it the switch and plug it in.
Here we are all done. Nothing left to do but put the door back together.
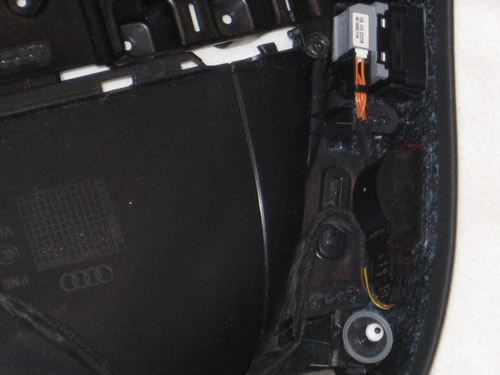
Onto the sensor install.
Please note: AudiEnthusiast.com is in no way associated to Audi or VW in any way shape or form. All brand names and manufacturers listed here are for informational purposes only and are in no way endorsed by AudiEnthusiasts.com unless stated other wise.
WARNING!! All modifications and changes are done at your own risk. This site in no way approves the modifications performed here for your vehicle. Please check with your dealer before performing any changes as they may void portions of your factory warranty.