.: Upgrading to full Alarm
SURPRISE!! Audi cut the North American market short again. I can't tell you how long I looked for the alarm interior bypass button that I had got used to in MY B5!! What was Audi thinking.
So this project was to upgrade the factory North American alarm to the ROW alarm and include the sensor and over ride buttons. Over all the install isn't to difficult but it takes some careful measuring and a little bit of wiring. So lets move it along.
This is a fairly easy modification so I would rate it 4 out of 10 for difficulty.
Project Alarm Upgrade
Tools:
T25 Torx Screwdriver
Soldering Iron
Heat Gun
Tape
Solder
Shrink Tubing
Overhead console
Pin 2 - ground (Splice to Brown Ground Wire)
Pin 3 - Violet Yellow - Tap into wire coming from sunroof or mirror plug provided you have a mirror with some functionality such as dimming.
Pin 4 - Power ST3 SC12 (Red Drivers Side) Red/White 5amp Same fuse as the alarm Horn.
Now all of the wiring is spiced into place so this install should be fairly straight forward. You have a choice though. If you do not want to run a wire down to the fuse bloc you can tap a power wire at the overhead console. One for the dome light would do the trick. Just remember the wire has to have power with the ignition off or your sensor wont work. If your just testing and looking for a wire make sure you do it with the door open so your not finding a wire that has power to it while the retained power feature is active.
Step 1 is to prepare the sensor by placing it into it's holder. It just snaps into place and the new microphone wires route under it.
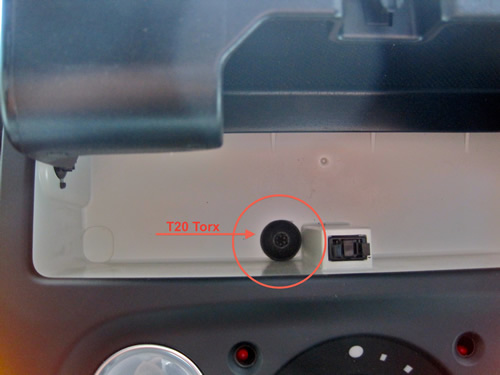
To remove the overhead console all you need is a T25 torx screw driver. Open the sunglass holder and undo the one screw there. The console can now just be pulled down. There are some pressure clips that hold the console in place so it will need just a little pressure to pull it down.
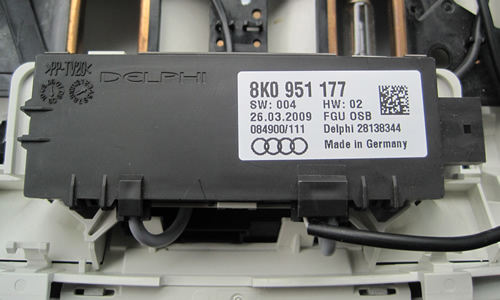
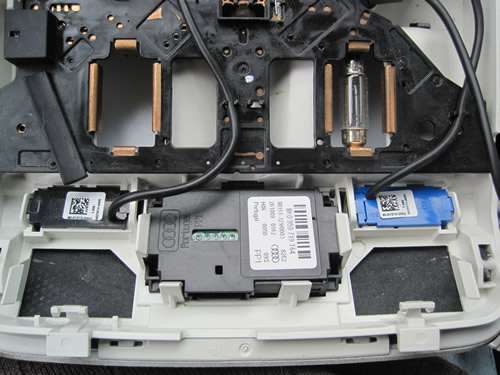
It will most likely be easier to work on the unit if you remove it. Just unplug the connectors and lower the unit down.
Now you can insert the new sensor in place into the console.
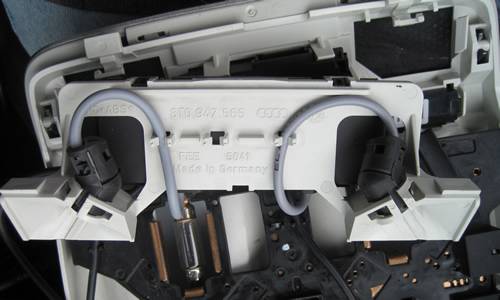
Depending on your options your console may look slightly different. Below you can see two microphones and the homelink switch. It should be very obvious how the sensor snaps into place into the two black openings below.
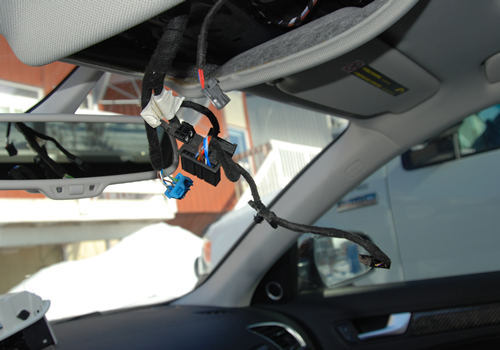
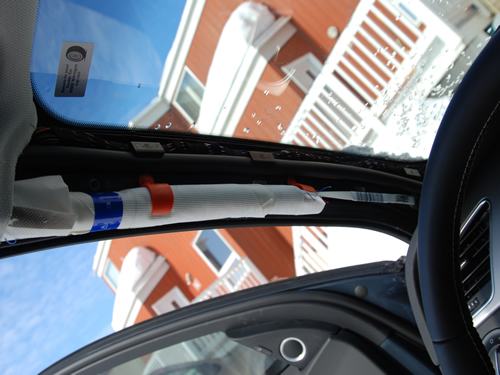
Now for the wiring. I cheated on this one. My headliner was out of the car so I had very easy access to all the wiring. Hopefully you have at least one of the options below to get your wire. I tapped the mirror for my wiring since I had to run other wires to the plug anyway's. You will most likely use the sunroof wire.
Here are the 3 places you can find the wire near the console:
1) Humidity Sensor in mirror
2) Sunroof
Control
3) Home Link Connector (Garage Door Opener)
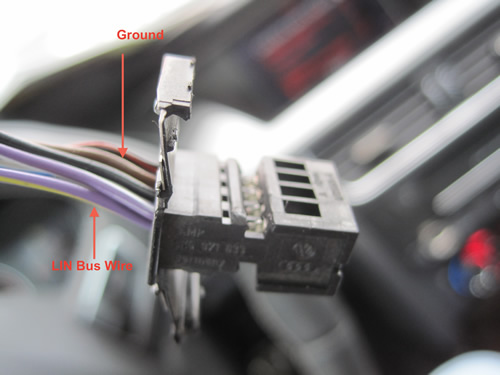
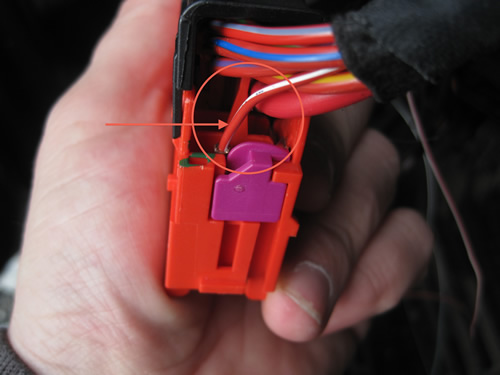
If for some reason you end up going to the mirror for the wire and you want to use shrink tubing you can remove the wire from the plug so you can slide the tubing on. You simply flip the covers up from the wires:
If your going to use the factory power source you will need to run a wire from the console down to the fuse panel.
To run a wire properly you will need to remove the side pillar.
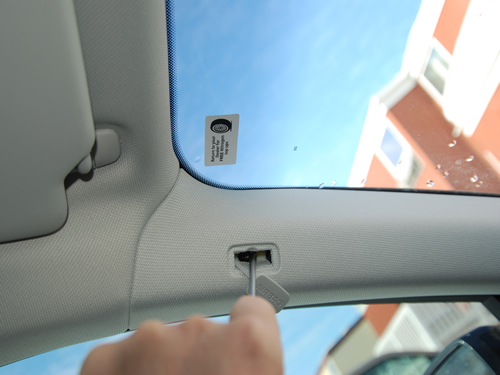
Pop out the Airbag emblem and remove the torx screw there.
Then use a trim removal tool or something to get under the edge of the pillar and pull it out a few inches to release the clips.
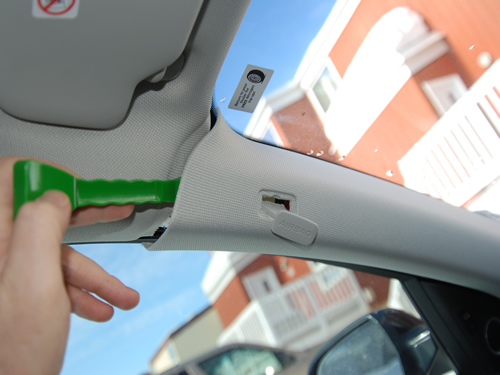
Now Simply slide it out.
Remove the fuse block covers.
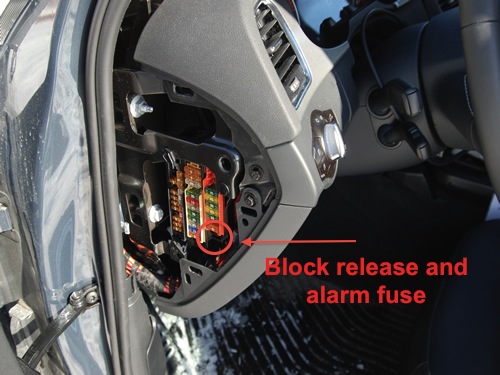
By pushing the block release tab up you can push the fuse block back and it will release from the holder. Now you can probably work without taking off the lower dash but it will make life a lot easier depending on the slack in your block wiring. You can see one of the bolts here that holds the panel in place. Although not show there are just two more bolts holding the panel in place. There is one on the right and one on the left just below the steering wheel column opening.
The bottom Fuse is the one that goes to your current alarm horn. This is a standard item in North America that is used for locking confirmation with your remote.
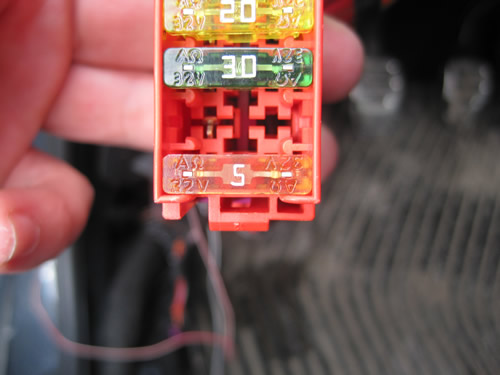
Here you can see the red and white wire. You need to splice into that wire for the alarm sensor.
Once the power wire is done put everything back together again. The last step is the alarm programming on module 46.
Please note: AudiEnthusiast.com is in no way associated to Audi or VW in any way shape or form. All brand names and manufacturers listed here are for informational purposes only and are in no way endorsed by AudiEnthusiasts.com unless stated other wise.
WARNING!! All modifications and changes are done at your own risk. This site in no way approves the modifications performed here for your vehicle. Please check with your dealer before performing any changes as they may void portions of your factory warranty.